

How To Add Redux To Create React App
Setting Up a Redux Project With Create-React-App
![]()

A Byte About Redux
Redux is definitely the new cool 😎 — state management made easy with just a single state tree. Although it's been largely associated with React, Redux can also be used with other view libraries (e.g Vue, Meteor, Angular, etc). Luckily, setting it up with Create-React-App (CRA) is quite straight forward.
The Project Setup
You can set up your project in two ways.
1.) Install create-react-app globally (for older versions of npm). This provides a CLI command — create-react-app — to create a project.
npm install -g create-react-app To create a new project, simply type the CLI command (create-react-app) plus the name of your project (in my case, redux-cra ) and hit enter 😎
create-react-app redux-cra 2.) Alternatively, you can use npx — this is a new binary that comes alongside npm v5.2 and above. To create a new project, just prepend npx before create-react-app redux-cra. This installs create-react-app globally (if it has not been installed) and also creates a new project.
npx create-react-app redux-cra Now that your project is setup, we can begin hacking (Lol). In your terminal (or CLI. I prefer to use terminal though 🙂), do the following:
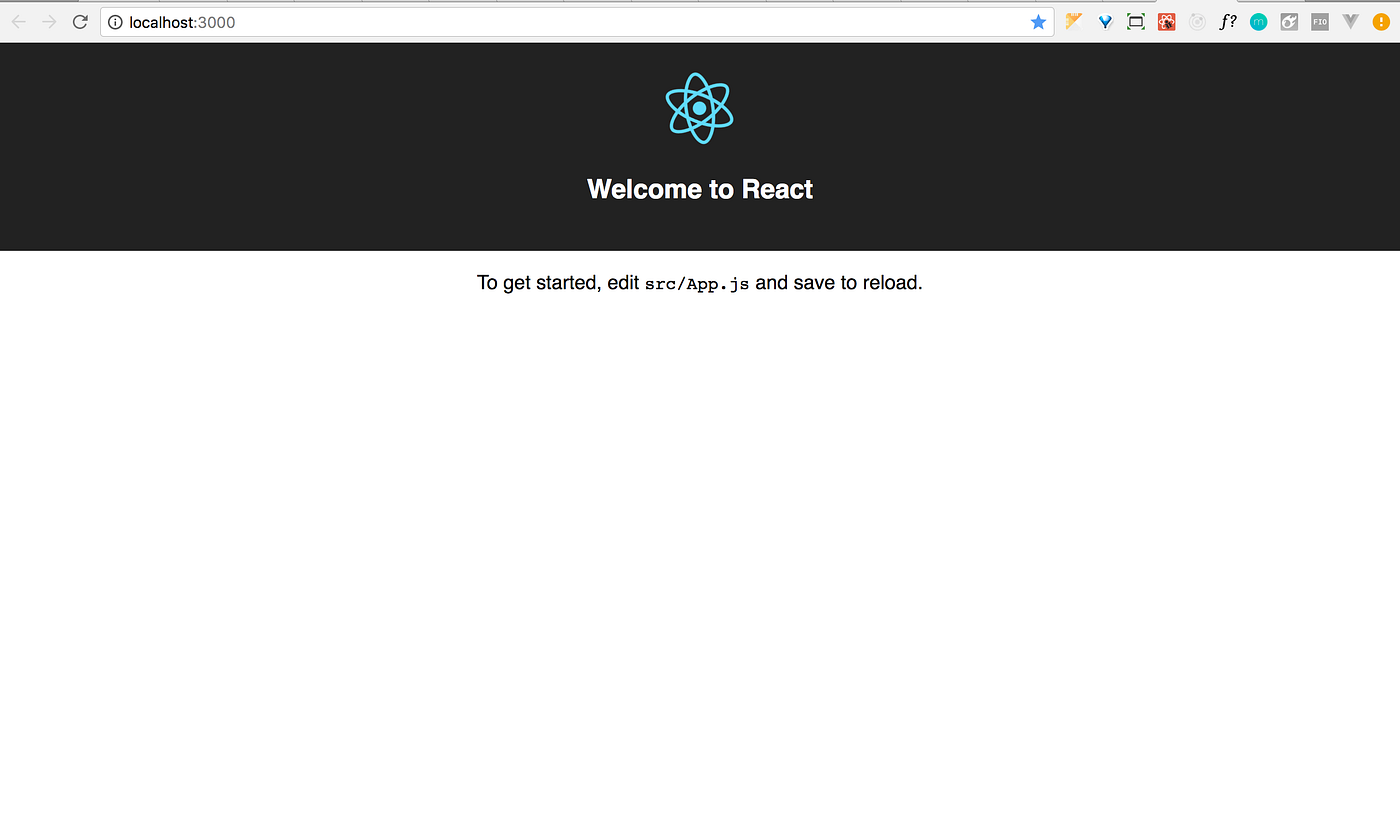
          cd redux-cra
npm start
This should start your project on port 3000.
A Glimpse of a CRA Project Folder Structure
Your newly created project's folder structure should be similar to the image below.
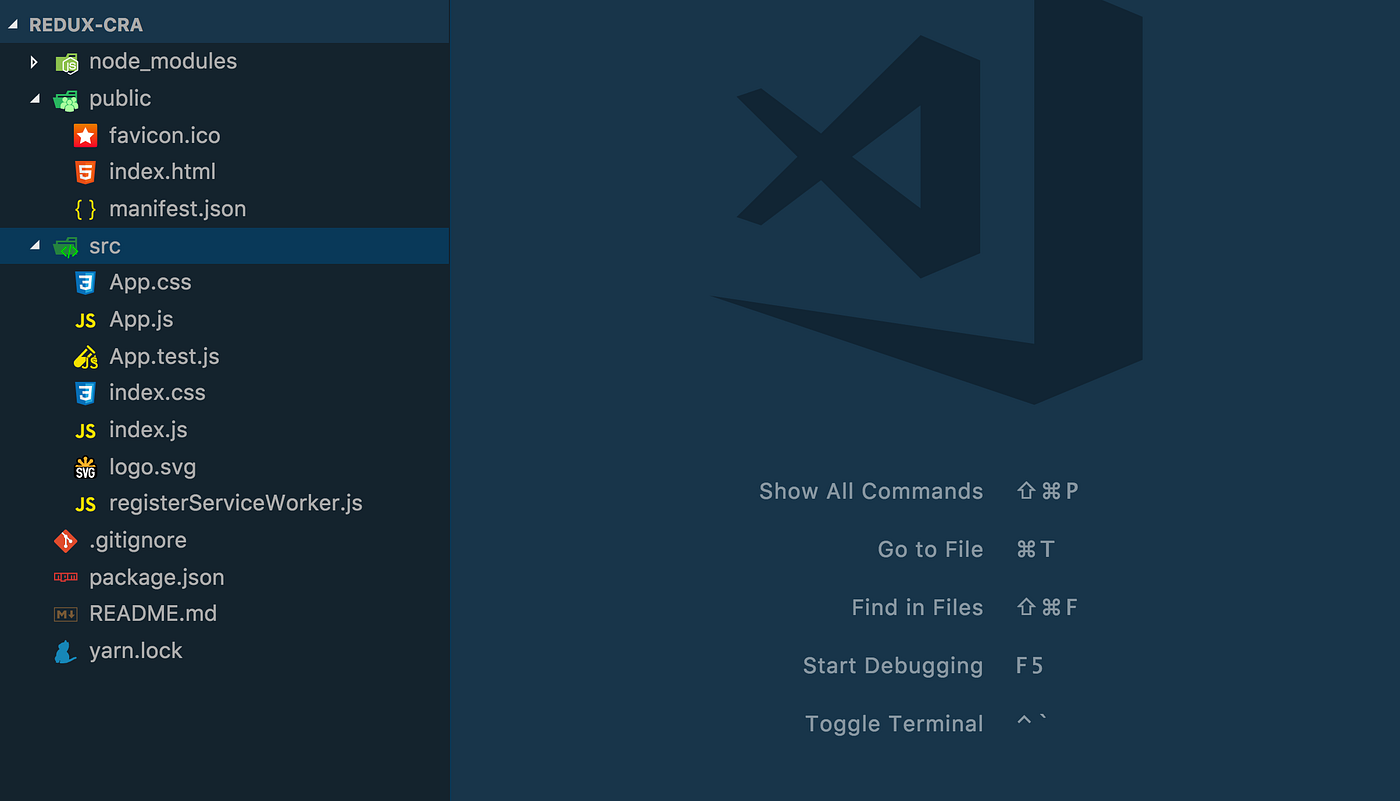
Note: For your project to build, the following files must exist with exact filenames:
-
public/index.htmlis the page template; -
src/index.jsis the JavaScript entry point.
Redux Setup
To setup Redux, these packages are required: redux, react-redux, and redux-thunk. Why? The answers are simple.
-
reduxis the core that performs the magic 😄 - By default, React bindings are not included in Redux. With
react-redux, these bindings will be explicitly installed. -
redux-thunkis a middleware that allows you to write action creators (we'll get to this in a bit) that return a function. The returned function receives two store (we'll also talk more on this) methods:dispatchandgetStateas parameters. If you're still unsure about the purpose ofredux-thunk, you can read Dan Abramov's reference to it here.
Now that you understand the purposes of these packages, let's install them.
npm install redux react-redux redux-thunk --save Action Creators
People often use actions and action creators interchangeably. On the contrary, they are two different entities. Actions are payloads of information which send data to the store. Essentially, they are JavaScript objects. What makes a particular action unique is the type key defined in it.
Yeah, you guessed right — an action must have a type key. The type indicates the type of action being performed.
On the other hand, action creators are functions that create actions — they simply return actions. For manageability and ease, redux-thunk allows you to write them as functions that return a function (a callback? 🤔).
Moving forward, action creators will be defined in an actions folder in src (you can choose to name yours differently — name it "action-creators", "action-initiators", etc. They are also cool 😎).
                      /*
              src/actions/simpleAction.js
*/                    export const simpleAction = () => dispatch => {
            dispatch({
            type: 'SIMPLE_ACTION',
            payload: 'result_of_simple_action'
            })
}
Reducers
These describe how the application state changes with respect to actions dispatched to the redux store.
Create a reducers folder in src and define reducers for your app actions. Here's an example of reducer:
                      /*
              src/reducers/simpleReducer.js
*/                    export default (state = {}, action) => {
            switch (action.type) {
            case 'SIMPLE_ACTION':
            return {
            result: action.payload
            }
            default:
            return state
            }
}
Using the combineReducers utility from redux , you can combine all reducers in the app into a single index reducer. For this project, we'll reference this index reducer as rootReducer. In your reducers folder, create rootReducer.js and import all reducers defined for your app actions.
                      /*
              src/reducers/rootReducer.js
*/                    import { combineReducers } from 'redux';
import simpleReducer from './simpleReducer';          export default combineReducers({
            simpleReducer
});
Redux Store
Essentially, the redux store does the following:
- Holds application state
- Allows access to state via
getState(). ThegetStatemethod returns the current state tree of your app. - Allows state to be updated via
dispatch(action). Thedispatchmethod "dispatches" an action, consequently triggering a state change. - Registers listeners via
subscribe(listener). Thesubscribe(listener)adds a change listener. Similar to Flux's change listener methods. - Handles unregistering of listeners via the function returned by
subscribe(listener).
Note: A redux application needs only one store.
In src folder, create a store.js file and configure the redux store. You can also define an initialState parameter in the configureStore method.
                      /*
              * src/store.js
              * No initialState
*/                    import { createStore, applyMiddleware } from 'redux';
import thunk from 'redux-thunk';
import rootReducer from './reducers/rootReducer';          export default function configureStore() {
            return createStore(
            rootReducer,
            applyMiddleware(thunk)
            );
}
The defined initialState of the store can either be an empty object or an object with initial key values. Here's an example:
                      /*
              * src/store.js
              * With initialState
*/                    import { createStore, applyMiddleware } from 'redux';
import thunk from 'redux-thunk';
import rootReducer from './reducers/rootReducer';          export default function configureStore(initialState={}) {
            return createStore(
            rootReducer,
            initialState,
            applyMiddleware(thunk)
            );
}
Provide Store
The redux store is all setup but the application has no access to it yet. This is handled using the Provider React binding from react-redux . To make the store available to every component in the app, it makes sense to call this binding in the app's entry point, in this case, index.js . Provider takes store and children as props. Calling configureStore() method from src/store.js creates the redux store, which is passed as props to Provider .
                      /*
              src/index.js
*/                    import React from 'react';
import ReactDOM from 'react-dom';
import { Provider } from 'react-redux'
import configureStore from './store';          import './index.css';
import App from './App';
import registerServiceWorker from './registerServiceWorker';          ReactDOM.render(
            <Provider store={configureStore()}>
            <App />
            </Provider>,
            document.getElementById('root')
);
registerServiceWorker();
Start the app. All should still work fine 😄
Connect React Component to Store
This will be done using the connect React binding from react-redux .
                      /*
              src/App.js
*/                    import React, { Component } from 'react';
import { connect } from 'react-redux';          import logo from './logo.svg';
import './App.css';          class App extends Component {
            render() {
            return (
            <div className="App">
            <header className="App-header">
            <img src={logo} className="App-logo" alt="logo" />
            <h1 className="App-title">Welcome to React</h1>
            </header>
            <p className="App-intro">
            To get started, edit <code>src/App.js</code> and save to reload
            </p>
            </div>
            );
            }
}          export default connect()(App);
connect takes in two parameters: mapStateToProps and mapDispatchToProps . These will be discussed in a bit. For now, let's import an action to test.
                      /*
              src/App.js
*/                    import { simpleAction } from './actions/simpleAction';
Map Redux State to Component Props
The mapStateToProps parameter of connect allows the React component to subscribe to redux state updates.
                      /*
              src/App.js
*/                    const mapStateToProps = state => ({
            ...state
})
Map Dispatch Function to Component Props
The mapDispatchToProps parameter of connect can either be:
- an object of action creators wrapped into a dispatch.
- a function with a dispatch parameter. The function should return an object that uses dispatch to bind action creators. Alternatively, you can use the
bindActionCreators()helper fromredux
                      /*
              src/App.js
*/                    const mapDispatchToProps = dispatch => ({
            simpleAction: () => dispatch(simpleAction())
})
Update Connect Function Parameters
Passing mapStateToProps and mapDispatchToProps as connect parameters merges the action creators and store updates to the component's props.
                      /*
              src/App.js
*/                    export default connect(mapStateToProps, mapDispatchToProps)(App);
How To Add Redux To Create React App
Source: https://medium.com/backticks-tildes/setting-up-a-redux-project-with-create-react-app-e363ab2329b8
Posted by: doanewiteld.blogspot.com
0 Response to "How To Add Redux To Create React App"
Post a Comment